-
Building A-D, Huixianda Science and Technology Park, Wanfeng Middle Road, Shajing Street, Bao'an District, Shenzhen, China.

How to Make a Vinyl Toy Mold
Table of Contents
Introduction
Do you want to make vinyl toys? It is hard to get started. Many people try but fail.
Problem: Making vinyl toys is hard if you don’t know how. You need to make a mold first. Bad molds make bad toys that no one wants to buy.
Agitation: Without good molds, your toys will look bad. They might have air bubbles or rough edges. You will waste time and money. Your customers will be sad.
Solution: Our factory can help! We make great molds for vinyl toys. We have done this for many years. We can make your toy ideas come to life! Keep reading to see how we do it.
Vinyl toys are very popular now. This guide will show you how to make vinyl toy molds. You can do it at home (DIY) or work with pros like us.
I. Planning and Design (Essential First Steps)
A. Concept & Design
1. Sketching and Ideation
First, draw your toy idea. Make many drawings from all sides:
- Front view
- Back view
- Side views
2. Character Design Considerations
Think about:
- How big will it be?
- What shape will it have?
- What special features will make it cool?
- Will parts move?
- How will it look?
3. 3D Modeling (Good Idea)
You can use computer programs to make a 3D model:
- ZBrush
- Blender
- 3ds Max
Problem: Many toy makers have good ideas but can’t make good 3D models. Their toys look weird.
Agitation: Bad 3D models mean bad toys. You might spend lots of money on molds that don’t work well.
Solution: Our factory has top 3D artists! They can fix or make 3D models for you. This saves you time and makes sure your toys look great!
B. Prototyping
1. Why Prototype?
You need to make a test toy first. This helps you see if your idea works.
2. Prototyping Methods
You can make a prototype two ways:
Hand-Sculpting:
- Use clay (like polymer clay or Apoxie Sculpt)
- Use small tools to shape it
- Takes skill and time
3D Printing:
- Print your computer design
- Sand it smooth
- Faster than hand work
Problem: Bad prototypes lead to bad molds and bad toys.
Agitation: If you rush this step, you will waste money later. Your toys will not sell if they don’t look good.
Solution: Our factory can make perfect prototypes for you! We use both hand-sculpting by skilled artists and high-end 3D printers. Your toys will look just how you want them.
II. DIY Vinyl Toy Mold Making (Silicone Molds)
A. Materials and Tools
To make a mold at home, you need:
| Item | What It’s For |
|---|---|
| Silicone rubber | Makes the mold |
| Release agent | Helps take things out of the mold |
| Mixing cups | To mix the silicone |
| Scale | For right mix amounts |
| Mold box stuff | Like Lego blocks or foam boards |
| Clay | To fill gaps |
| Tools | For fixing the prototype |
| Safety gear | Gloves, mask, eye guards |
You can buy these at craft stores or online.
B. Step-by-Step Mold Making Process
1. Preparing the Prototype
- Clean your prototype
- Seal it if it has tiny holes
- Put release agent on it
2. Creating the Mold Box
- Build a box around your prototype
- Make sure it won’t leak
- You can use Legos or cut foam board
3. Mixing and Pouring the Silicone
- Follow the mix rules on the box
- Mix slow to avoid air bubbles
- Pour very slow down one side
4. Curing the Mold
- Wait the time it says on the box
- Keep it at the right heat
- Don’t move it while it gets hard
5. Demolding
- Take off the box sides
- Pull out the prototype slow
- Be gentle so you don’t tear the mold
6. Creating a Two-Part Mold
- For toys with more parts, cut the mold
- Add keys so parts line up right
C. Troubleshooting Common Issues
These things can go wrong:
Air Bubbles:
- Pour slow
- Tap the mold box
- Use a special air machine if you have one
Mold Tears:
- Be more gentle
- Use thick walls
- Fix tears with more silicone
Incomplete Cures:
- Mix better next time
- Check room heat
- Use fresh silicone
Silicone Leaks:
- Seal boxes better
- Use clay in the cracks
- Put wax paper under it
III. Professional Vinyl Toy Mold Making (Metal Molds)
A. When to Consider Professional Manufacturing
Problem: DIY methods only make a few toys. They don’t look as good as store toys.
Agitation: If your toys get popular, you can’t make them fast enough! Your hands will hurt. The toys won’t all look the same. Customers will get mad.
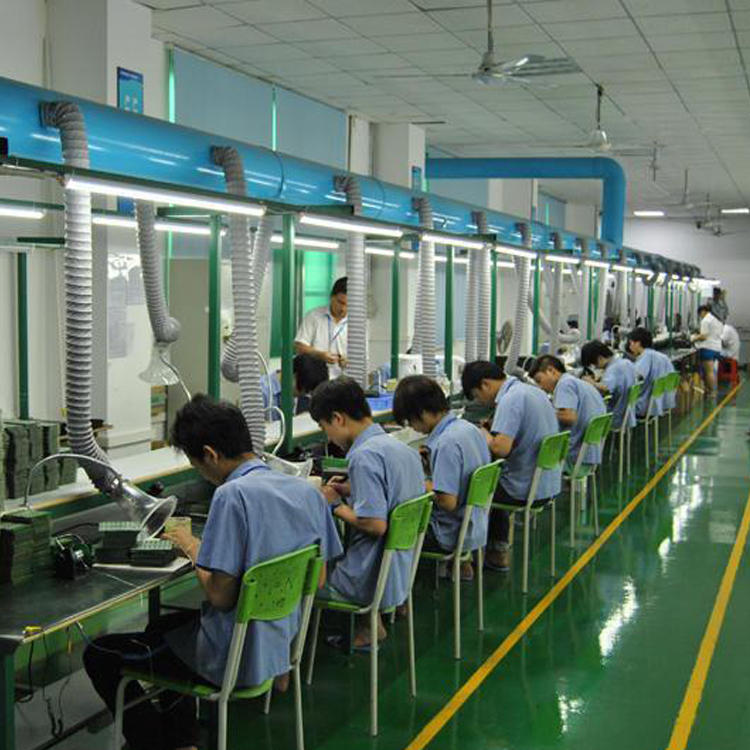
Solution: Our factory can make many perfect toys fast! We use metal molds that make the same toy over and over.
You should think about pro help when:
- Large-Scale Production: Metal molds can make many toys
- Durability: Metal molds last way longer than silicone
- Complexity: Metal molds can make harder shapes
- Initial Investment: They cost more to start but save money later
B. The Metal Mold Making Process (Overview)
- Master Pattern Creation: We make a perfect model
- Electroplating/Copper Mold: We make a copper copy
- Steel/Aluminum Mold: We make the final strong mold
Problem: Making metal molds is hard. You need big machines and know-how.
Agitation: If you try this at home, you will waste thousands of dollars. Your molds won’t work right.
Solution: Our factory has made metal molds for many years! We have all the right tools and skilled workers. Our molds make perfect toys every time.
C. Working with a Manufacturer
1. Finding a Manufacturer
Look for:
- Good past work
- Clear talk
- Fair prices
2. Providing Design Files
Send:
- 3D models (STL files)
- Drawing plans
- Color info
3. Communication and Feedback
- Talk often with your maker
- Ask questions
- Check work as they go
4. NDAs
- Sign papers so no one steals your idea
- Keep your toy plans safe
Problem: Many factories don’t understand what you want. They make toys wrong or miss deadlines.
Agitation: Bad factories waste your money and time. They might make toys that break or look wrong.
Solution: Our factory speaks good English and talks to you all the time! We send photos of each step. We make sure you love your toys before we ship them.
IV. Casting Your Vinyl Toy (After Mold Making)
A. DIY Casting (Rotocasting/Slush Casting)
1. Materials
- Liquid plastic (PVC)
- Color drops
- Heat (oven)
2. Process
- Put liquid plastic in the mold
- Turn the mold to coat inside
- Heat it up to make it hard
- Take out the toy
You can build a simple turn machine at home. It costs about $4,950 to $7,500 for a good one. Some people make cheaper ones.
B. Professional Casting (Rotational Molding)
1. Process Overview
We use big machines that:
- Turn the molds just right
- Heat them just right
- Cool them just right
- Make many toys at once
2. Quality Control
We check:
- No air bubbles
- Right color
- Good shape
- Smooth sides
Problem: DIY casting makes just a few toys a day. They often have flaws.
Agitation: If stores want 1,000 toys, you would need to work for months! Your toys might all look a bit different.
Solution: Our factory can make thousands of toys fast! They all look the same. Our action figures are perfect every time.
V. Finishing and Assembly
After casting:
- Trimming: Cut off extra bits
- Sanding: Make it smooth
- Painting: Add colors
- Assembling: Put parts together
Problem: Finishing takes skill. Bad paint jobs ruin good toys.
Agitation: Customers will not buy toys with sloppy paint or rough edges.
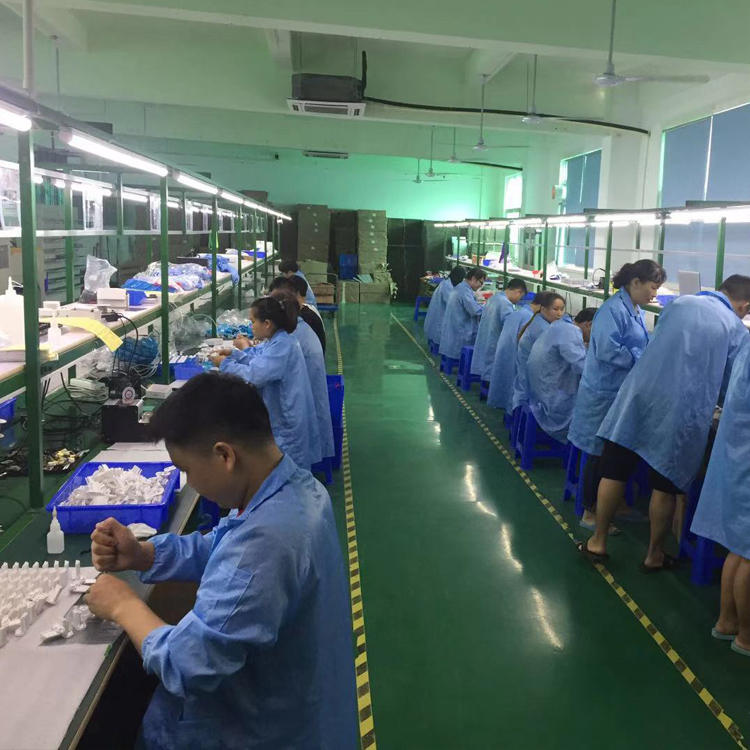
Solution: Our factory has skilled painters who make toys look amazing! We can do any style you want, from simple to fancy.
VI. Market Information
The toy world is growing fast!
- Global toy sales: $108.7 billion in 2023
- By 2028: $230.64 billion (growing 7.30% each year)
- Toy collectibles: $12.5 billion in 2023
- U.S. toy sales: $28.3 billion in 2024
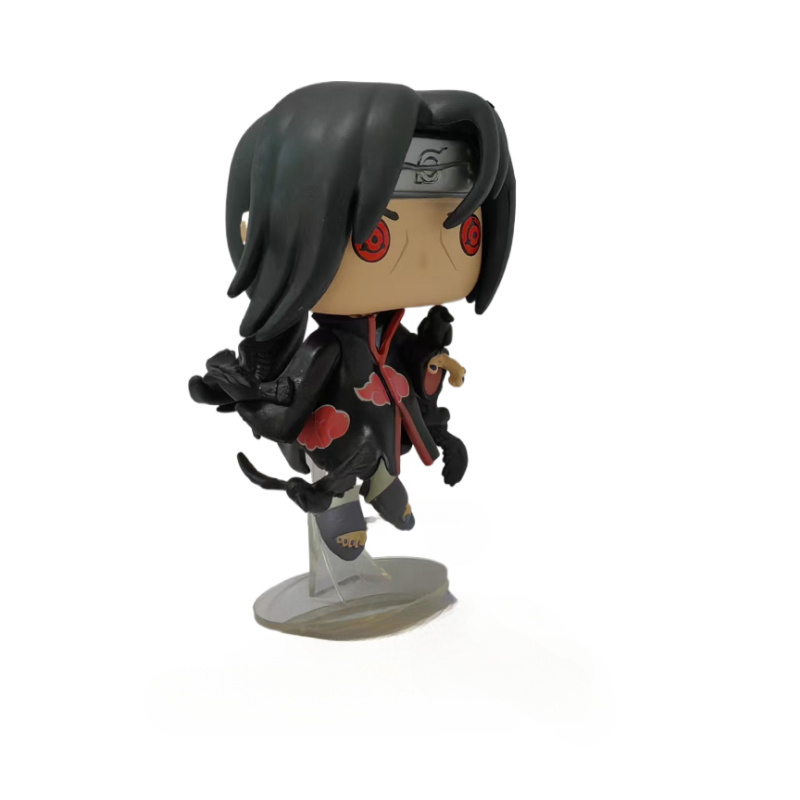
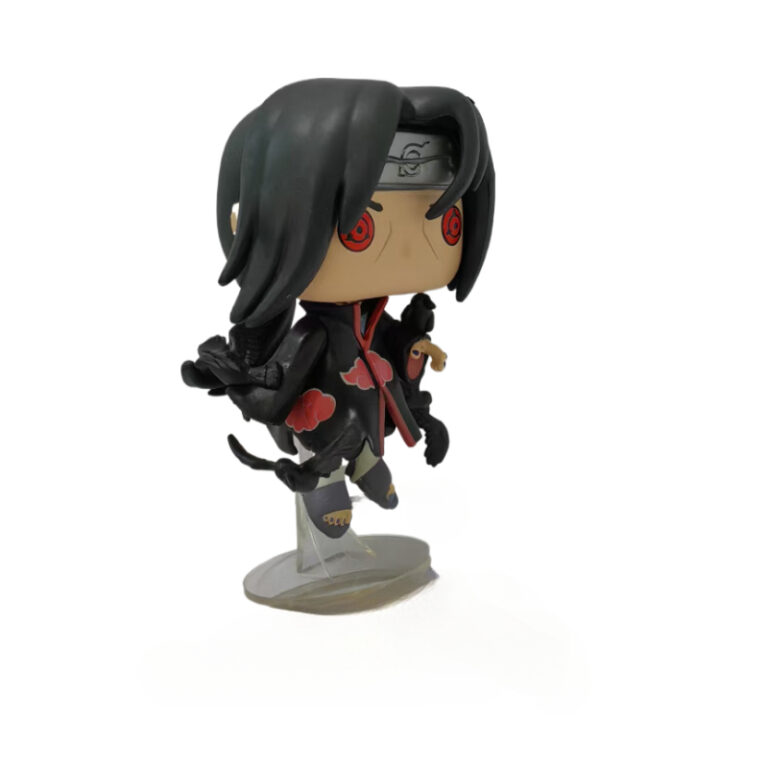
Funko Action Figures and Five Nights at Freddy’s Action Figures are very popular now!
VII. Costs to Think About
DIY Costs
- Silicone: $20-100 per gallon
- DIY turn machine: $4,950-$7,500
- Time: Many hours per toy
Professional Costs
- Mold costs: $1,000-$10,000+ (one time)
- Setup costs: $4,000-$20,000 (one time)
- Per toy cost: $6-12 each (for 1,000+ toys)
- Time: 26-45 weeks total
Problem: DIY is cheap to start but costs more per toy. Pro is costly to start but cheaper per toy.
Agitation: If you guess wrong, you might spend too much! Some toy makers go broke this way.
Solution: Our factory helps you pick the right plan! We can start small and grow with you. Our prices are fair, and we tell you all costs up front.
VIII. Conclusion
Now you know how to make vinyl toy molds! You can try DIY or work with pros. The toy market is big and growing.
Problem: Making good vinyl toys is hard. You need skills, tools, time, and money.
Agitation: Many people try and fail. They waste money on bad molds or can’t make enough toys to sell.
Solution: Our factory is your best friend! We help with all steps:
- Fix your designs
- Make perfect prototypes
- Create strong molds
- Produce as many toys as you need
- Package them ready to sell
We’ve worked with big names like Disney, Harry Potter, and Pusheen! Our action figures are top quality.
Don’t waste time and money trying to figure it out alone. Work with us and be a toy success story!
Contact us today to get started on your vinyl toy dreams!

![Funko POP! Marvel Loki Exclusive Vinyl Figure #615 [Mjolnir]](https://figurinesmanufacturer.com/wp-content/uploads/2025/02/微信图片_20250221135410.png)